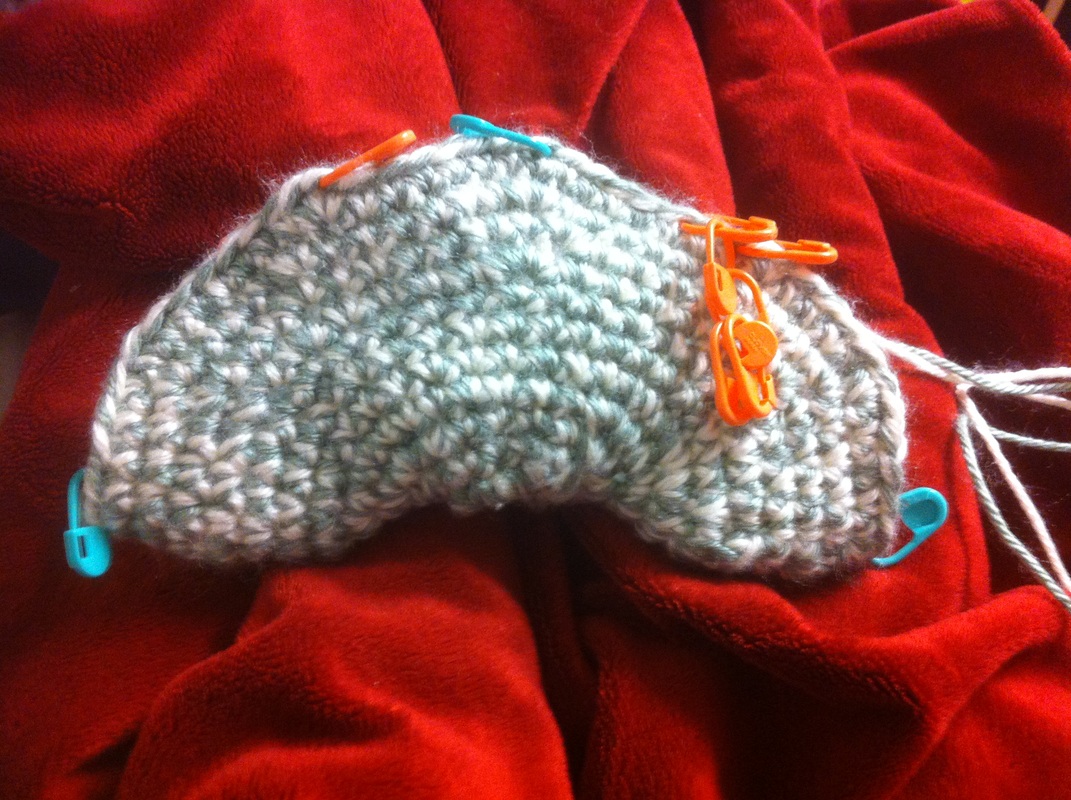
 | OMGosh! An improvised pattern! I'm kind of completely coming up with each row on the fly....let's see how it works! I'm working this one using 2 strands of worsted weight yarn held together; a pretty pale green and an off-white. You want instructions? Keep reading! If not, go on to the next thing. | 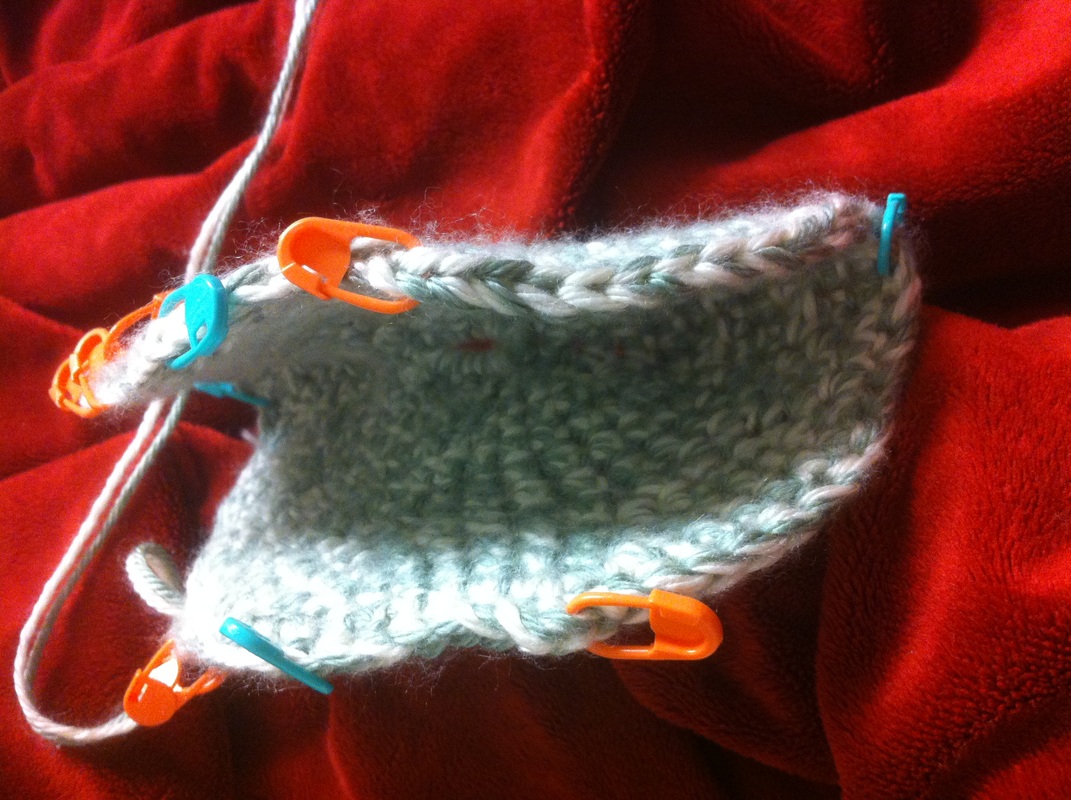 |
Introductory Comments on Instruction:
Worked with 2 strands of worsted weight yarn; I used acrylic (being the cheap yarn that I could at least sort of afford)
If the bag is worked with a feltable yarn, the design can presumably be made in any size and felted. Don’t ask me how to determine felting proportions though, because I haven’t got a clue on that—I’ve never felted anything.
Instructions Themselves:
Ch 5 (I think…I don’t remember), join w/ a slip stitch
1) 14 sc over ring
i) this should be a tight squeeze in the ring. If ch 5 is too many, use less for the ring.
2) *5 sc, (3 sc in each st*)x2*
i) *this will in future be written “sc 3:1”; 2 sc in each st similarly as “sc 2:1”
3) *5 sc, (sc 2:1)x6*
4) 9 sc, (sc 2:1)x4, 13 sc, (sc 2:1)x4, 4 sc
5) 12 sc, (sc 2:1)x2, 19 sc, (sc 2:1) x2, 7 sc
6) 13 sc, sc 2 tog*, 21 sc, sc 2 tog*, 8 sc
i) * hook through 1st st. then directly back through 2nd to front, pull loop all the way back to sc. This will be the procedure for all sc 2 tog
7) sc all round
a) mark the following:
i) marker in the sc 2 tog (bottom)
ii) count up four from the sc 2 tog. Each 5th, 6th up, mark (side markers)
iii) Mark center st on each side; should be 10 on each side of center, not counting bottom (top)
8) sc between markers
a) Top: sc 3:1; move marker to center of the 3
b) Side: sc 2:1 in each mark; move markers to 1st and 4th of the set created
c) Bottom: sc 2:1; leave marker 1 rd down, 1 of the 2 st on each side of it.
9) sc between markers
a) sc 2:1 on either side of top marker (NOT top marker st); leave marker in center st
b) sc 2:1 each side marker; marker in 1st/last of each 2 set; 1:1 sc between side markers
c) sc 2 tog at bottom marker; marker in that st
10) sc between markers**
a) sc 3:1 in top
b) sc 2:1 side markers
c) sc 1:1 bottom marker
d) reposition markers; leave the top and bottom markers in place (these will not be used for pattern, but will be necessary later). Divide each side evenly into 3 sections (2 markers, count up 13 from bottom on each side, not including bottom marked st; mark the 13th)
e) **Starting from this round, whenever your bag is the desired size, skip to the instructions for working up the sides (it’ll be marked with ***)
11) sc between markers
a) sc 1:1 top and bottom markers, move to new round
b) sc 3:1 side markers; move marker up to middle of the 3
I've just finished round 11. Instructions for round 12 are correct to my plan, including the repositioning of markers. Not yet corrected instructions will be in red text. As I correct them, I will switch the color back to black.
12) sc between markers
a) sc 2:1 side markers
b) repo side markers for 5 even sections on each side (4 markers; 9th , 18th st up on each side)
13) sc between markers
a) sc 2:1 side markers; move marker up to the st. of the set nearest the top
14) sc between markers
a) sc 2:1 side markers
b) repo side markers for 11 even sections on each side (10 markers; 5th, 10th, 15th, 20th, 25th st up on each side)
15) sc between markers
a) sc 2:1 side markers
b) repo side markers for 7 even sections on each side (6 markers; 11th, 22nd, 33rd st up on each side)
16) sc between markers
a) sc 2:1 side markers; move marker up to st nearest top
17) sc between markers
a) sc 2:1 side markers
b) repo side markers for 13 even sections on each side (12 markers; 7th, 14th, 21st, 28th, 35th, 42nd st up on each side)
i) at this point the overall pattern should be clear; work 2-3 rows of inc. at 2:1 or 3:1 with a marker set, then switch to a mutually prime odd section set and repeat the process. The goal is to evenly distribute increases while avoiding too many rows of increases in the same spots. Use the number of st in a side, excluding the bottom marked st, to determine the next section division. I.e., after 2 rows working with 13 sections, we have 117 st, which evenly divides by 9, so that’ll be the next row division set; I’ve done the math up to this point for you, but this is exactly the method I used)
ii) Instructions now skip to where you have a wide enough bag and are ready to begin joining the sides
(1) When ready to begin this, subtract 1 st on either side of the bottom st to continue with the increase distribution pattern until the sides are even. I.e., if you start work on the sides after row 19 (2 rows w 13 sections as described above), instead of using 117 to figure the divisions, subtract one from each side and use 115, counting one additional st from the bottom before the first marker up.
c) At this point, switch to 1 strand, drawing the other behind to one side, then carrying it behind up each row at the sc 3 tog
18)*** sc between markers, except next to bottom markers
a) at side markers, increase as before with either 2:1 or 3:1 as determined
b) at bottom markers sc 3 tog as follows
i) pull a loop through the st before the bottom marker, keeping it on the hook; pull a loop through the marked st, again keeping it on the hook (3 loops on hook now); pull a loop through the st after the bottom marker (4 loops on hook); draw a loop and pull through all 4 (1 loop on hook). Move marker up to the new bottom st created by the sc 3 tog
c) subtract 2 (and add the increased sts) and redistribute side markers for the next round (i.e. 115 w/ 23 sections-->138 st on either side, minus 2 -->136 and 17 sections for next round)
i) as you repeat this, try to keep decreasing the number of sections without subsequently re-increasing them; if need be, you can fudge the sections in order to do this; i.e. the round after the one described above would be working with 151 st (if using a 2:1 increase), which is a prime number….so fudge it to 150 for 15 sections, placing the extra st in the top section
(1) This decreasing number of increases is intended to gradually flatten out the top of the bag. I dunno if it’ll work. If it doesn’t look like it’s working, I’ll change side-building methods.
19) Repeat round 18 (or whatever number it actually is….the round that tells you how to stitch up the sides) until you’ve joined up ¼ of the sts on each side, counting each sc 3 tog as 1 st for counting purposes, and the final row on the rest.
i) starting fr 115 to work up the sides will eventually lead to a fudging alternation with 178 fudging alternately to 175 for 5 sections and 177 for 3 sections. I’m pretty sure this’ll make a big bag; but I’m also not sure on this whole side-stitching procedure, since I’m not actually there yet
(1) finish out the side-stitching on a 3 section; after this, it’ll be even rounds, so you want to get there as smoothly as possible.
20) Work even rounds; reset rounds start to 1 past side st (what used to be a bottom marker) use sc for a fairly solid bag, or pattern sts as desired. Alternate color by rounds, by sts, or in any desired pattern. Here is where you can really customize your bag. When your bag is the desired depth, proceed to the next instruction
21) Decide how wide you want your straps. The initial strap-beginning round will be done differently depending on whether the width is odd or even. For an even strap width, you will work 1 decrease on each side by SKIPPING what used to be the bottom st; for an odd strap width, you will work the bottom st. Divide the strap width by 2, rounding down if your width is an odd number (I’m working with a strap width of 10, so my number is 5). Sl st the last of the previous round to the starting st of this round, then continue sl st around to (width/2) 5 st before the first bottom st; sc your strap width, remembering to skip the bottom st itself if your width is even (like mine); proceed in sl st around to (width/2) 5 st before the second bottom st; again, sc your strap width.
22) From here, turn and work the strap flat, again using any st or pattern you want.
23) When the strap is the desired length (remember that this is the FULL length of the strap; it’ll be joined back to the body of the bag where you made that one strap row before), work sl st joining the two pieces together; slipping from the inside of the strap. Bind off and weave the ends into the bag.
a) sc 2:1 side markers
b) repo side markers for 5 even sections on each side (4 markers; 9th , 18th st up on each side)
13) sc between markers
a) sc 2:1 side markers; move marker up to the st. of the set nearest the top
14) sc between markers
a) sc 2:1 side markers
b) repo side markers for 11 even sections on each side (10 markers; 5th, 10th, 15th, 20th, 25th st up on each side)
15) sc between markers
a) sc 2:1 side markers
b) repo side markers for 7 even sections on each side (6 markers; 11th, 22nd, 33rd st up on each side)
16) sc between markers
a) sc 2:1 side markers; move marker up to st nearest top
17) sc between markers
a) sc 2:1 side markers
b) repo side markers for 13 even sections on each side (12 markers; 7th, 14th, 21st, 28th, 35th, 42nd st up on each side)
i) at this point the overall pattern should be clear; work 2-3 rows of inc. at 2:1 or 3:1 with a marker set, then switch to a mutually prime odd section set and repeat the process. The goal is to evenly distribute increases while avoiding too many rows of increases in the same spots. Use the number of st in a side, excluding the bottom marked st, to determine the next section division. I.e., after 2 rows working with 13 sections, we have 117 st, which evenly divides by 9, so that’ll be the next row division set; I’ve done the math up to this point for you, but this is exactly the method I used)
ii) Instructions now skip to where you have a wide enough bag and are ready to begin joining the sides
(1) When ready to begin this, subtract 1 st on either side of the bottom st to continue with the increase distribution pattern until the sides are even. I.e., if you start work on the sides after row 19 (2 rows w 13 sections as described above), instead of using 117 to figure the divisions, subtract one from each side and use 115, counting one additional st from the bottom before the first marker up.
c) At this point, switch to 1 strand, drawing the other behind to one side, then carrying it behind up each row at the sc 3 tog
18)*** sc between markers, except next to bottom markers
a) at side markers, increase as before with either 2:1 or 3:1 as determined
b) at bottom markers sc 3 tog as follows
i) pull a loop through the st before the bottom marker, keeping it on the hook; pull a loop through the marked st, again keeping it on the hook (3 loops on hook now); pull a loop through the st after the bottom marker (4 loops on hook); draw a loop and pull through all 4 (1 loop on hook). Move marker up to the new bottom st created by the sc 3 tog
c) subtract 2 (and add the increased sts) and redistribute side markers for the next round (i.e. 115 w/ 23 sections-->138 st on either side, minus 2 -->136 and 17 sections for next round)
i) as you repeat this, try to keep decreasing the number of sections without subsequently re-increasing them; if need be, you can fudge the sections in order to do this; i.e. the round after the one described above would be working with 151 st (if using a 2:1 increase), which is a prime number….so fudge it to 150 for 15 sections, placing the extra st in the top section
(1) This decreasing number of increases is intended to gradually flatten out the top of the bag. I dunno if it’ll work. If it doesn’t look like it’s working, I’ll change side-building methods.
19) Repeat round 18 (or whatever number it actually is….the round that tells you how to stitch up the sides) until you’ve joined up ¼ of the sts on each side, counting each sc 3 tog as 1 st for counting purposes, and the final row on the rest.
i) starting fr 115 to work up the sides will eventually lead to a fudging alternation with 178 fudging alternately to 175 for 5 sections and 177 for 3 sections. I’m pretty sure this’ll make a big bag; but I’m also not sure on this whole side-stitching procedure, since I’m not actually there yet
(1) finish out the side-stitching on a 3 section; after this, it’ll be even rounds, so you want to get there as smoothly as possible.
20) Work even rounds; reset rounds start to 1 past side st (what used to be a bottom marker) use sc for a fairly solid bag, or pattern sts as desired. Alternate color by rounds, by sts, or in any desired pattern. Here is where you can really customize your bag. When your bag is the desired depth, proceed to the next instruction
21) Decide how wide you want your straps. The initial strap-beginning round will be done differently depending on whether the width is odd or even. For an even strap width, you will work 1 decrease on each side by SKIPPING what used to be the bottom st; for an odd strap width, you will work the bottom st. Divide the strap width by 2, rounding down if your width is an odd number (I’m working with a strap width of 10, so my number is 5). Sl st the last of the previous round to the starting st of this round, then continue sl st around to (width/2) 5 st before the first bottom st; sc your strap width, remembering to skip the bottom st itself if your width is even (like mine); proceed in sl st around to (width/2) 5 st before the second bottom st; again, sc your strap width.
22) From here, turn and work the strap flat, again using any st or pattern you want.
23) When the strap is the desired length (remember that this is the FULL length of the strap; it’ll be joined back to the body of the bag where you made that one strap row before), work sl st joining the two pieces together; slipping from the inside of the strap. Bind off and weave the ends into the bag.
 RSS Feed